This is an old revision of the document!
+Table of Contents
PaperTiny

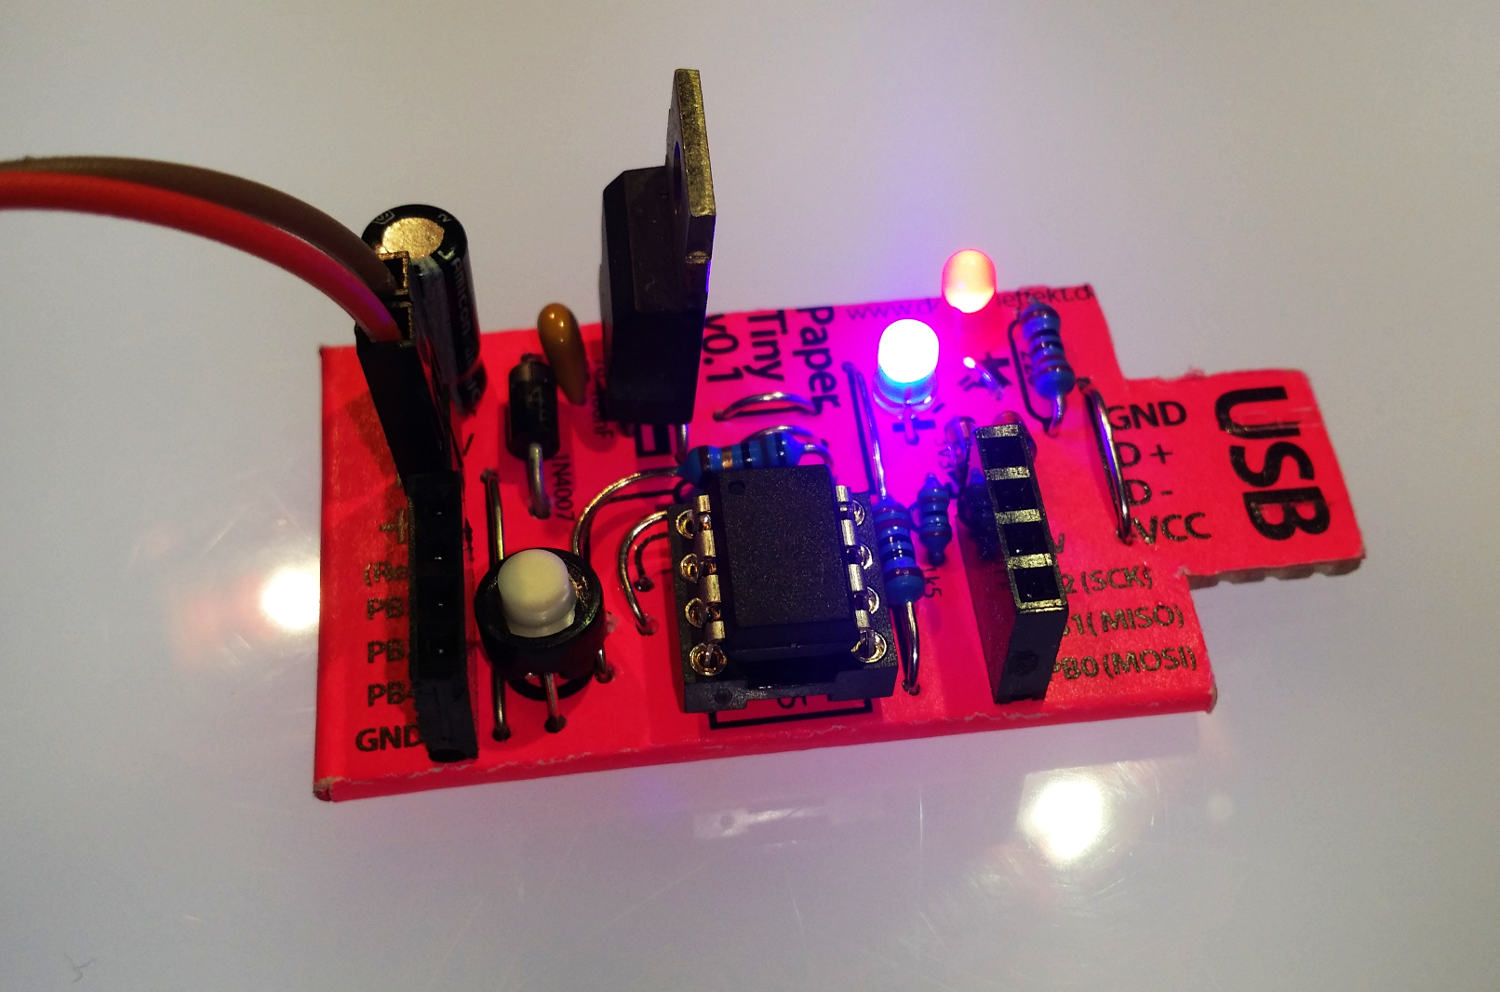
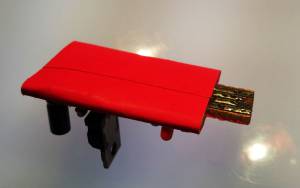
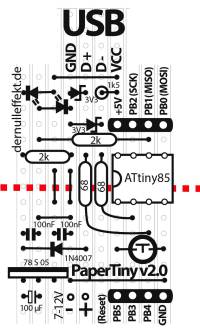
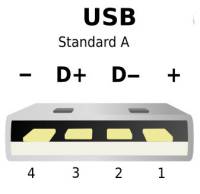
The PaperTiny in an Arduino board based on Paper PCB and an ATtiny85 chip. It has USB on board and can be programmed like an Arduino.
One can use it like the Digispark board or the Adafruit Trinket board.
Thanks to Marc, Yashas, Shreyasi and Budi from Cocomake7 for the inspiration. The paper version of the Cocomake7 is here.
Paper PCB
Firmware
That's a manual for Linux, for Windows it could be done similar with the power shell.
Burn The Adafruit Bootloader
Download the bootloader from here: https://github.com/adafruit/Adafruit-Trinket-Gemma-Bootloader, unpack it and cd to the folder.
$ cd to_your_folder.../Adafruit\ Trinket/Adafruit-Trinket-Gemma-Bootloader-master/
With an AVR Programmer or a Paperduino burn the bootloader. Connect the SCK, MISO, MOSI, Reset, GND and +5V pins. If the avrdude is installed run the following commands in your terminal. If avrdude is not installed run “sudo apt-get install avrdude” or “sudo pacman -S avrdude” depending on your linux. Depending on your programmer use for “-c” your protocol and for “-P” the port on your computer. For “-p” write t85 it stand for your chip the ATiny.
1. Erase the chip:
$ sudo avrdude -p t85 -c stk500v2 -P /dev/ttyACM0 -e
2. Set the fusebits to E:FE H:DD L:E1 :
$ sudo avrdude -p t85 -c stk500v2 -P /dev/ttyACM0 -B 6 -v -U lfuse:w:0xe1:m -U hfuse:w:0xdd:m -U efuse:w:0xfe:m
3. Burn the bootloader:
$ sudo avrdude -p t85 -c stk500v2 -P /dev/ttyACM0 -U flash:w:t85_default.hex:i
Burn The Digispark Bootloader
Download the bootloader from here: https://github.com/micronucleus/micronucleus, unpack it and cd to the folder.
$ cd to_your_folder.../micronucleus-master/firmware/releases/
With an AVR Programmer or a Paperduino burn the bootloader. Connect the SCK, MISO, MOSI, Reset, GND and +5V pins. If the avrdude is installed run the following commands in your terminal. If avrdude is not installed run “sudo apt-get install avrdude” or “sudo pacman -S avrdude” depending on your linux. Depending on your programmer use for “-c” your protocol and for “-P” the port on your computer. For “-p” write t85 it stand for your chip the ATiny.
1. Erase the chip:
$ sudo avrdude -p t85 -c stk500v2 -P /dev/ttyACM0 -e
2. Set the fusebits to E:FE H:DD L:E1 :
$ sudo avrdude -p t85 -c stk500v2 -P /dev/ttyACM0 -B 6 -v -U lfuse:w:0xe1:m -U hfuse:w:0xdd:m -U efuse:w:0xfe:m
3. Burn the bootloader:
$ sudo avrdude -p t85 -c stk500v2 -P /dev/ttyACM0 -U flash:w:t85_default.hex:i
Software
Follow the instruction for the Digispark board: http://digistump.com/wiki/digispark/tutorials/connecting
Schematic
Parts
- Resistors:
- 2x 2 kOhm
- 1x 1,5 kOhm
- 2x 68 Ohm
- Capacitors:
- 2x 100 nF
- 1x 100 µF
- Diodes:
- 1x 1N4007
- 2x Z-Diode 3,3V
- Semiconductors
- 1×7805
- 2x Standart LED
- Mechanical:
- 1x IC socket, 8pins
- 1x Pin-Strip male 1×2
- 2x Pin-Strip female 1×4
- Push Button
Links & Knowledge
ATtiny Projects:
Adafruit Trinket
https://learn.adafruit.com/introducing-trinket/introduction
https://learn.adafruit.com/introducing-trinket/setting-up-with-arduino-ide
https://github.com/adafruit/Adafruit-Trinket-Gemma-Bootloader
USBTinyISP for Linux


