Table of Contents
PB103 Sine VCO
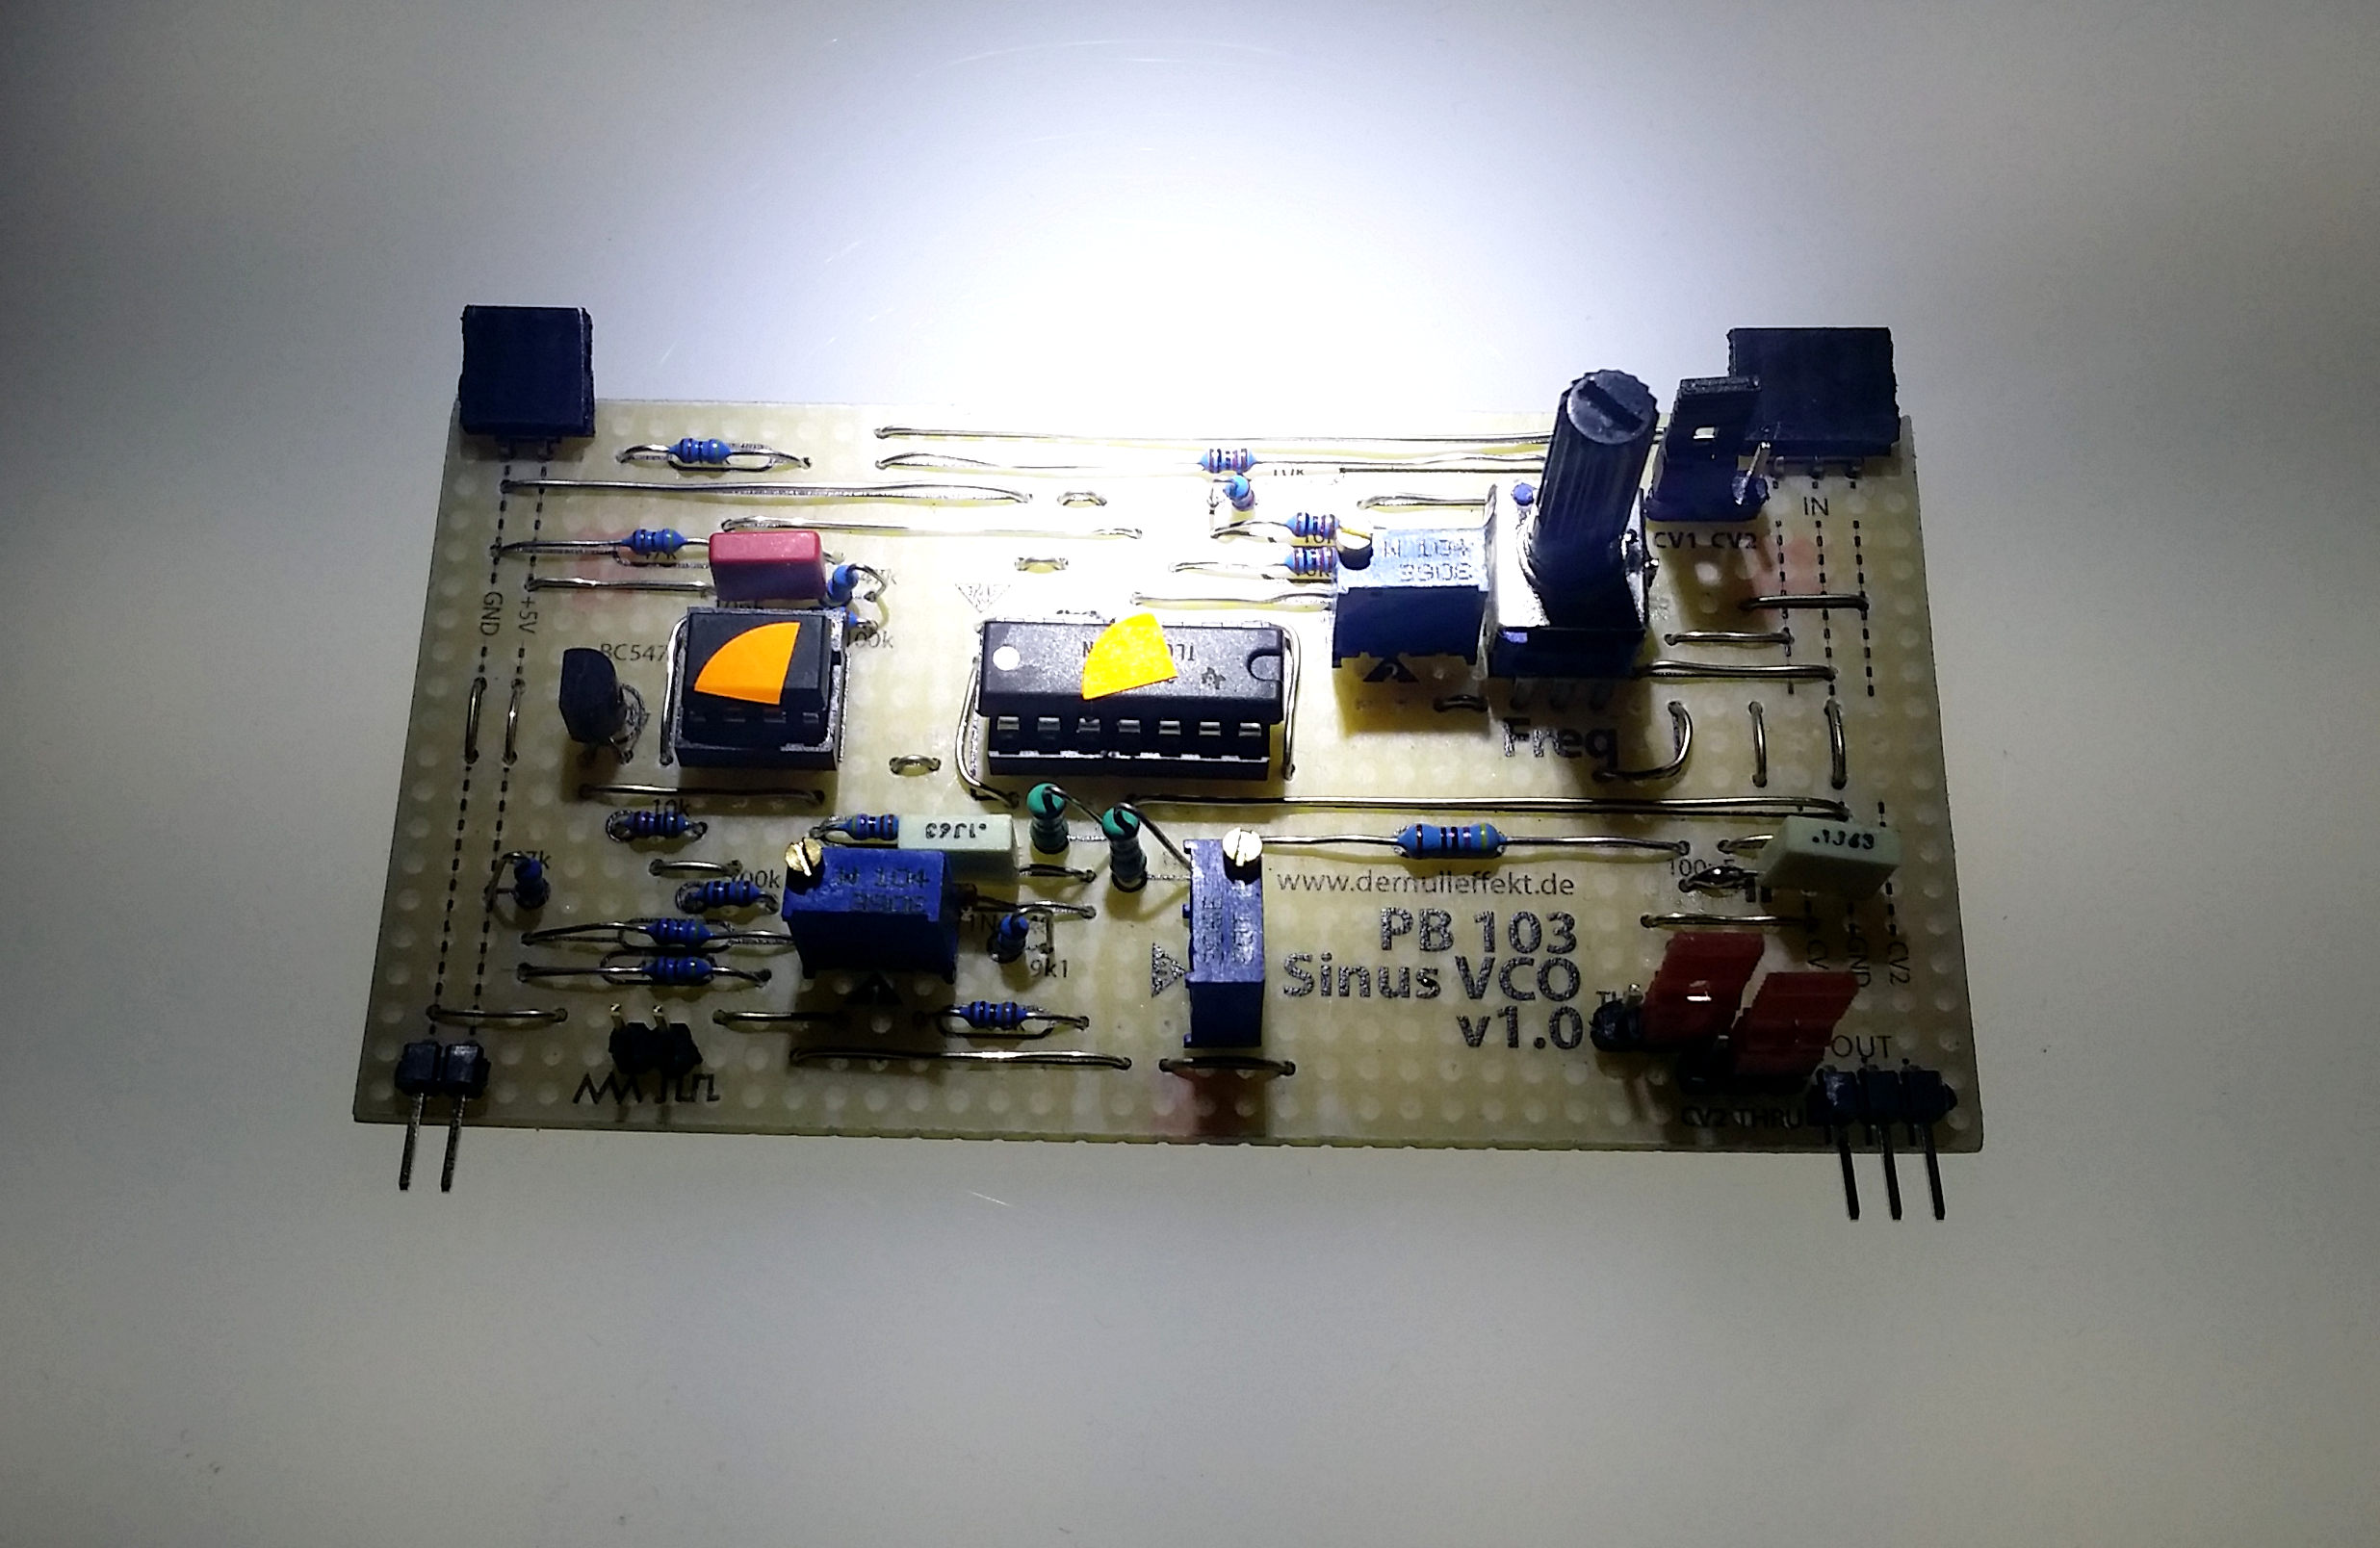
That's the sine wave VCO for the Paper-Bits. To adjust the wave shaper have a look at the manual at the bottom of the page.

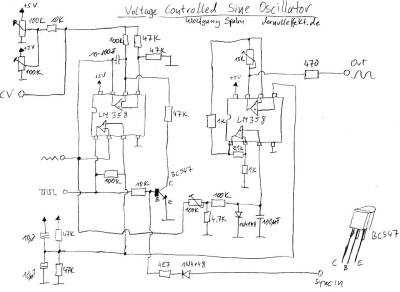
Schematic
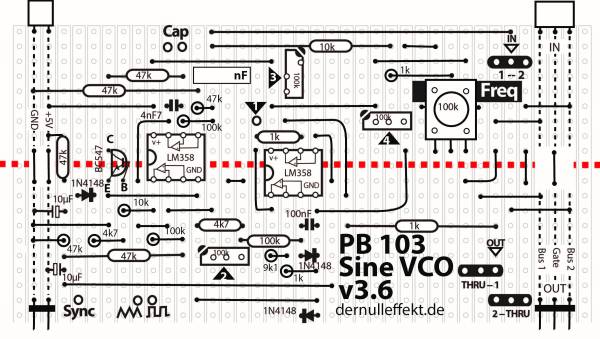
Paper-PCB
Parts
- Resistors:
- 4x 1 kOhm
- 2x 4.7 kOhm
- 1x 9.1 kOhm
- 2x 10 kOhm
- 6x 47 kOhm
- 3x 100 kOhm
- Capacitors:
- 1x 100 nF (foil)
- 1x 10 nF (foil)
- Electrolytic Capacitors:
- 2x 10µF
- Diodes:
- 2x 1N4148
- Semiconducors:
- 1x BC547
- 2x LM 358
- Mechanical:
- 2x 8 pin IC socket
- 1x pin strip 1×9
- 2x pin header, female 90° 1×3, 1×2
- 2x pin header, male 90° 1×3, 1×2
- 3x jumpers
- Potentiometers:
- 2x 100k trim potentiometer
- 1x 10k trim potentiometer
- 1x 100k
Manual
Step 1 Connecting to Power:
Once you've finished soldering all parts into the Paper Circuit Board power it on while touching the two chips. If any of the chips is getting hot immediately unplug it and check the board for any mistakes (might be the chip is inserted the wrong way).
Step 2 Checking the Oscillator:
Connect the triangle or the square wave output of the oscillator to the speakers by using a crocodile clip. Check if its working.
Step 3 Using the Oscilloscope:
Connect your first probe of the oscilloscope to the triangle wave pin - you should see the waves on your oscilloscope.
Than connect the second probe to connector Nr. 4. Now you should see two different waves, its time to shape the second one into a beautiful sinus wave.
Step 4 Wave Shaping:
Connect your speakers to pin connector Nr. 1, too. (use a crocodile clip).
Now start trimming the potentiometer marked as Nr. 2 while checking the oscilloscope and comparing the second wave with the first.
Stop when you see and hear a perfect rounded sinus wave.
Ok, now we have our sinus wave but as you might notice the signal is week, it's time to amplify it.
Step 5 Amplification:
Connect your speakers to the CV output (watch out if the jumpers are at the right position). Do the same with the oscilloscope probe.
If you don't hear or see anything it means that the signal might have been lost, but don't worry that's what we will do next.
Before you start trimming the trim potentiometer, it is important to know that you want to get you're wave as much amplified as possible without getting to the saturation level of your op-amp.
When that happens the sound gets distorted and you will see on you're oscilloscope that your wave is reaching a critical level (it's getting flat).
Another thing to know is that you're wave has a peak to peak range that is limited by the op-amps capacities and changes depending on the frequency. You want to get the best out of it (the highest possible voltage without reaching the saturation) and that's why you have to check the wave over all frequencies. In the lower ones for instance the waves amplitude is higher and that's the best for tuning you're wave because here the wave will tend to get out of range (oversaturated) much easier than in higher frequencies.
Now you can start trimming the trim potentiometer. The one marked as Nr. 3 controls the amplification of the wave. You will trim it until you're wave will reach a similar peak to peak range as the triangle wave.
Step 6 Offset:
The trim potentiometer Nr 4 is for adjusting the offset of the frequents control. To avoid popping one wants to have at the lowerst input still a nice sine wave.
Once your sine wave is shaped, amplified and has a nice offset you are ready to go, plug and play.
~~socialite:icon facebook twitter googleplus reddit tumblr~~


