This is an old revision of the document!
Table of Contents
Paperduino-UNO
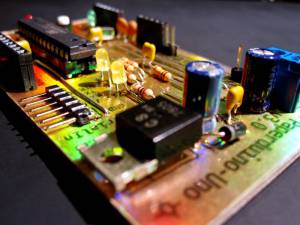
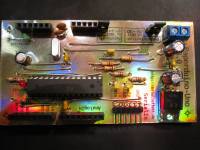
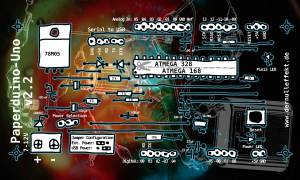
Paperduino-UNO is an easy and cheap way of building your own Arduino UNO clone. It is build complete with standard electronic components and there’s no need for a printed circuit board. And the best, you also can design your board individually (Like that one, made with the golden paper of the Transmediale 2012).
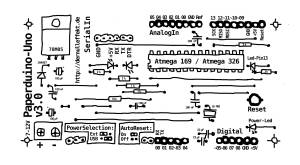
For cloning the board there is a jumper on it, so one can turn off the auto reset and can use the Paperduino-Uno for burning the bootloader on an other Arduino or Paperduino-Uno.
In using the Atmega368 you will have an Arduino-UNO or an Arduino 2009 clone. But certainly for a really cheap version it’s possible to use the Atmega168 or the Atmega8 chip, too.
For the performance Liquid State Machine 6 Paperduino-UNOs were used for controlling the sound and the projections .
Serial to USB
Another advantage is that the serial to USB adapter is separated from the board. That means you can reuse it for another project, once the Paperduino-UNO is programmed. And if you want to develop applications for the Arduino UNO and the modified Atmega8U2 chip (for example used as a Midi-Controller or a USB mouse) it helps a lot when you physically can change the USB to Serial adapter with the modified Atmega8U2 board.
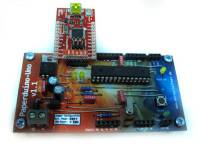
Paperduino-Uno with the Sparkfun Atmega8U2 Breakout Board:
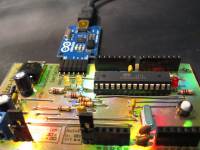
Paperduino-Uno with the Arduino USB Serial Light Adapter:
Paperduino-Uno and an Arduino as an USB to Serial adapter:
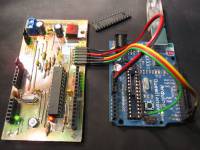
For some USB to Serial adappters it just works with an 470 Ohm resisor at the TX pin instead the 1 KOhm!
Manual
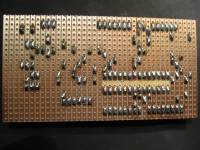
- Build the Paper-PCB like described at the Paper-PCB manual side
- Solder all components and bridges on the board.
- Insert the chip.
- Burn the Bootloader on the chip: You can either use an AVR Programmer, a Parallel Programmer, an Arduino or a USB to Serial adapter. Here you can see how to burning the bootloader.
- Prepare your USB to Serial adapter. If you have the Atmega8U2 Breakout from Sparkfun you have to solder header to DTR, TX, RX, VCC and Ground - The TX and the RX connection change! You can also use your Arduino (Uno or older) as an Serial to USB adapter or just use the Arduino USB Serial Light Adapter.
- Depending on the power source you have to set the jumper on the board (USB or external power). The other jumper is allways on but for turning off the auto reset.
- … and voila, you have a complete Arduino.
Paper-PCBs
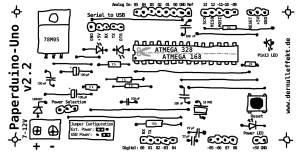
Paperduino-UNO 2.2 (with auto reset):
Paperduino-UNO v 3.0 (with jumper for turning off the auto reset):
Schematic
Here is the original
schematic of the Arduino UNO.

