This is an old revision of the document!
= manual ==============================================
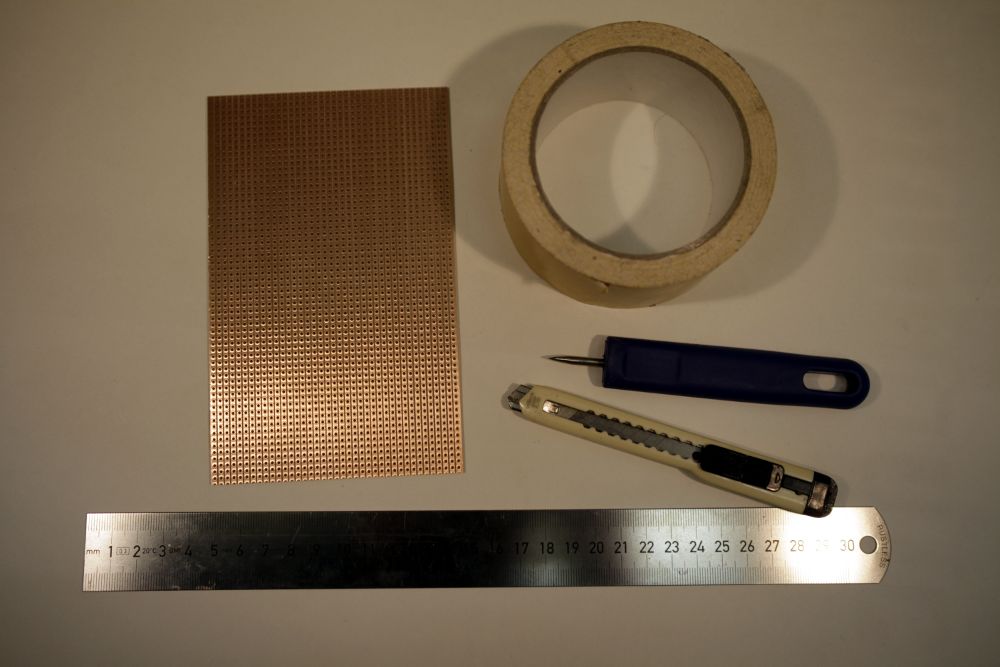
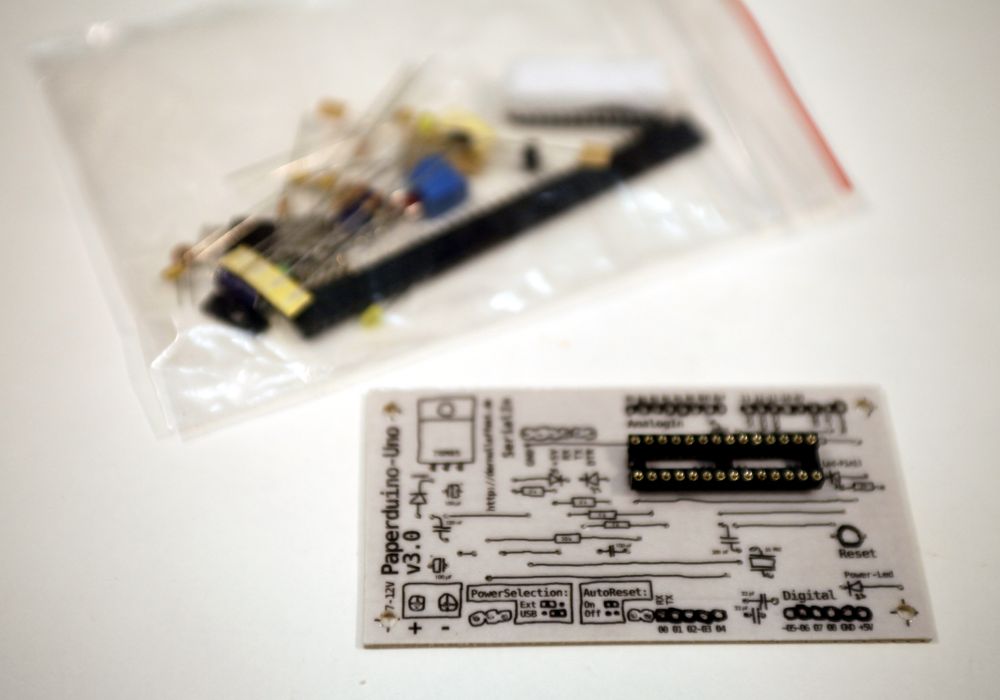
You need:
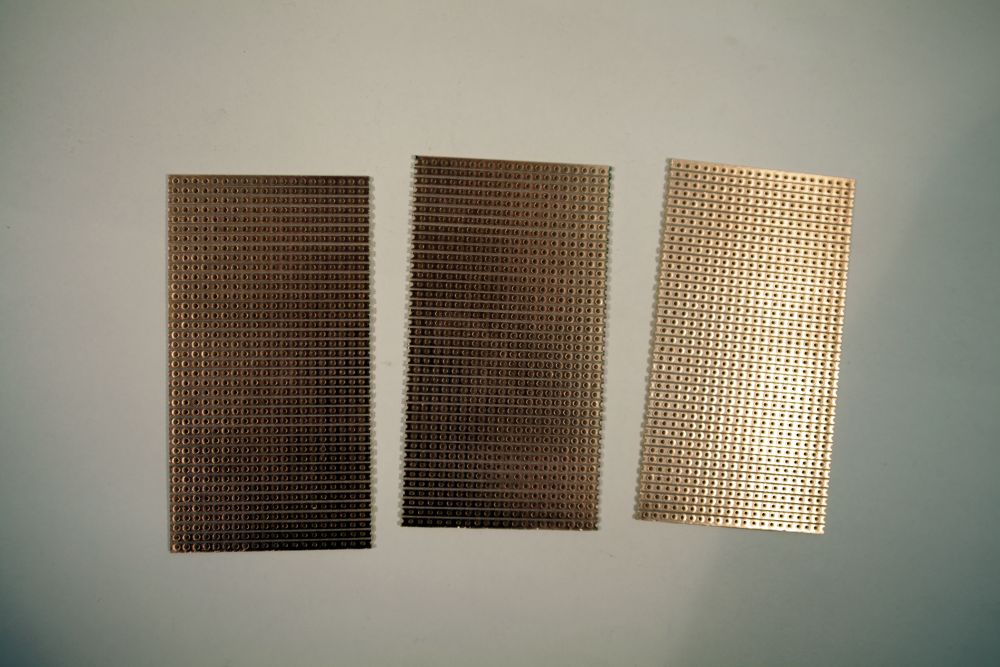
- protoboard
- printer
- transparent paper
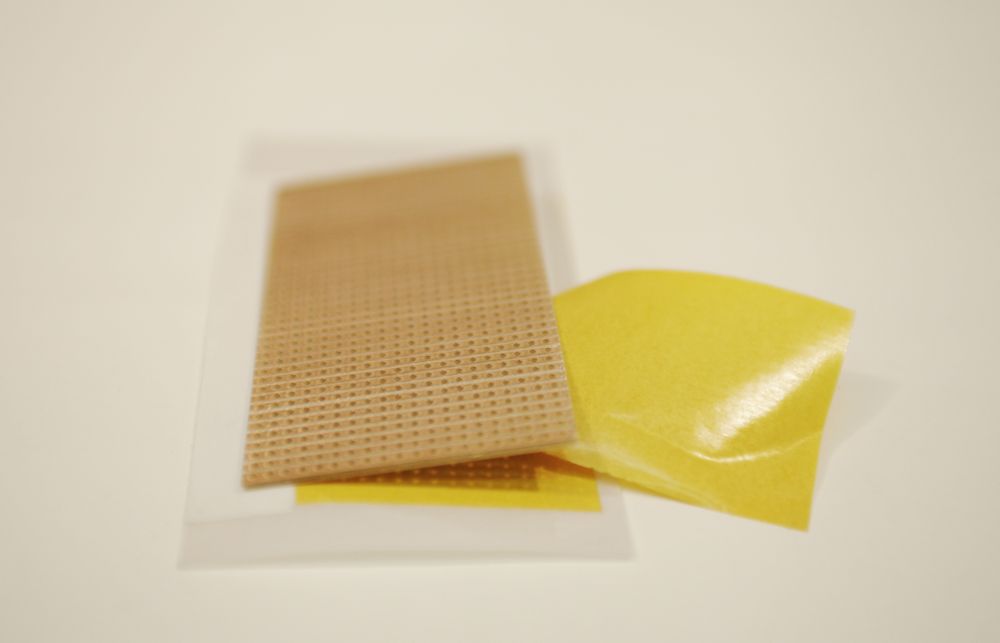
- double sided tape
- needle
- cutter
==========================================================
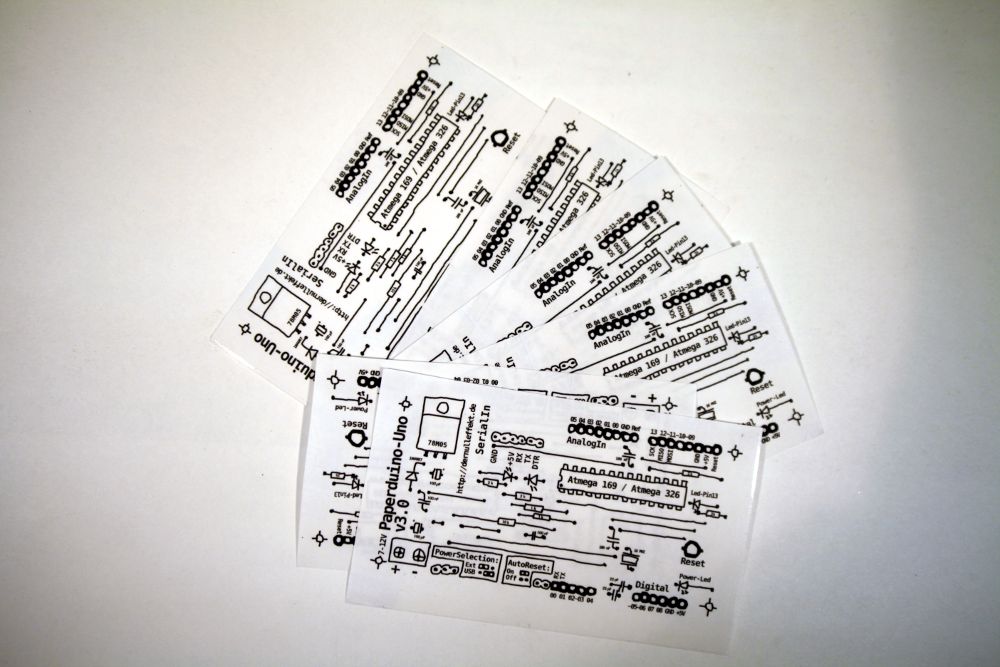
- Print out the drawn circuit on transparent paper.

- Cut it out.
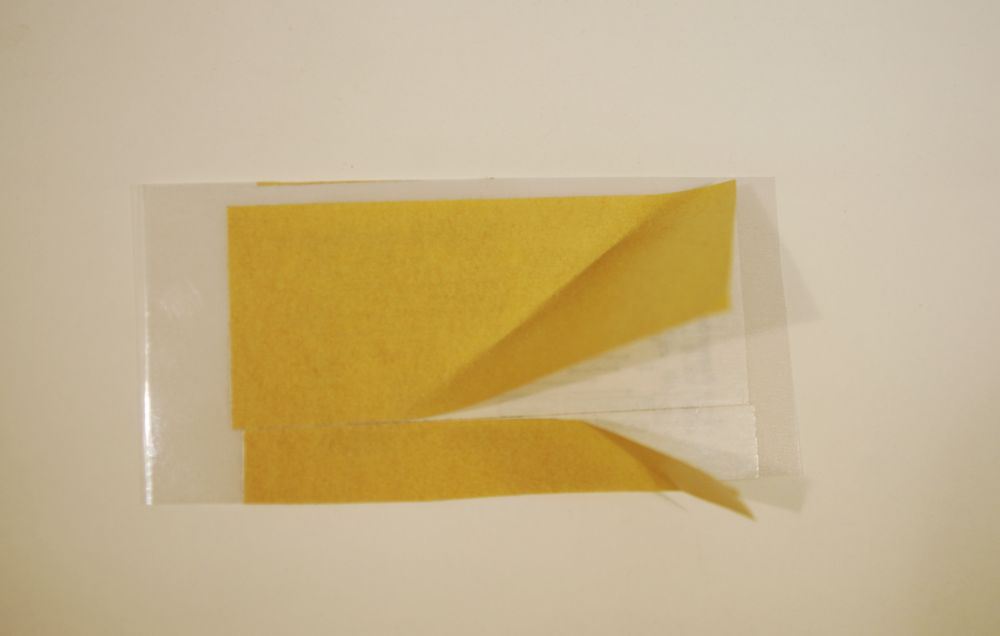
- Glue a doublesided tape on the back of the print.
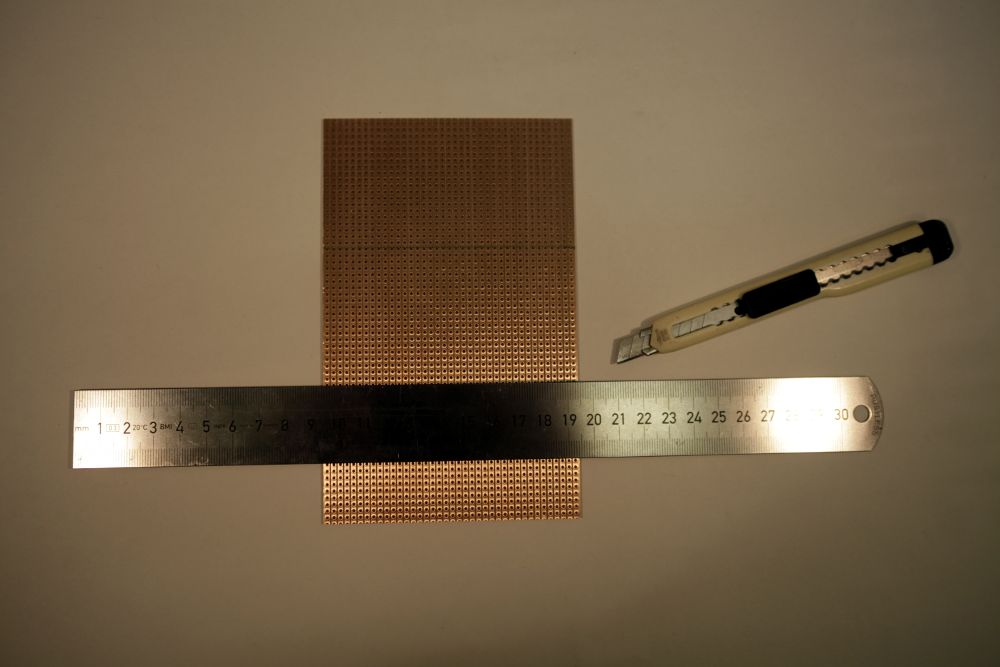
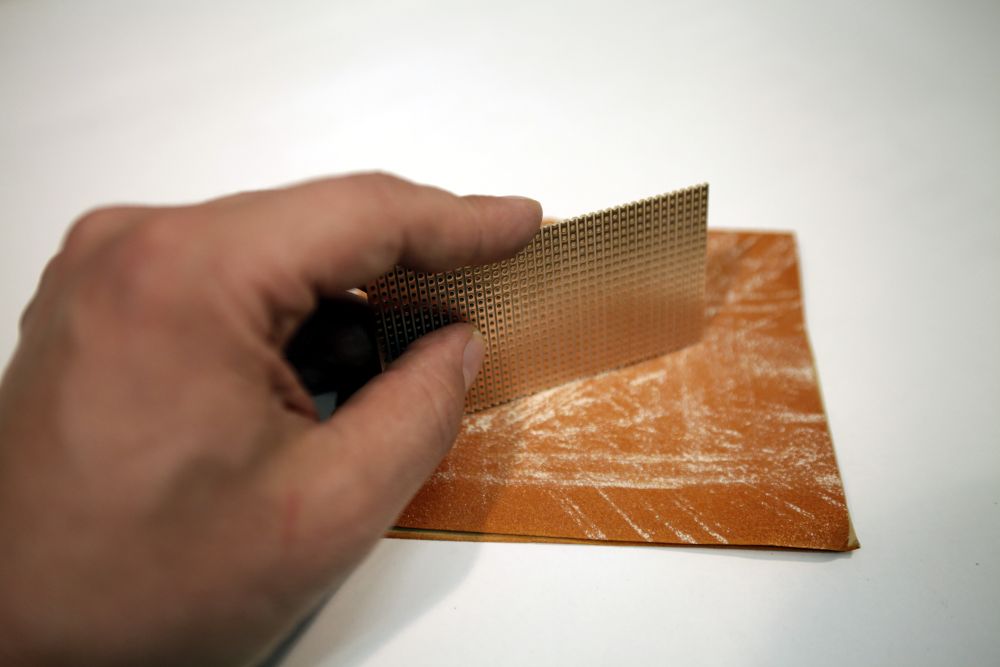
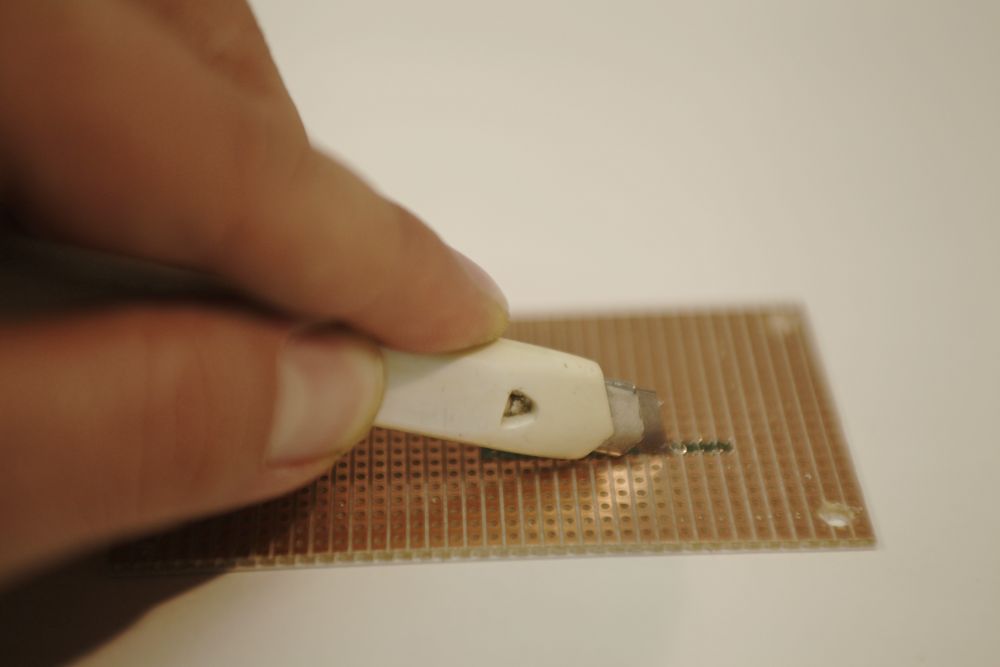
- Mark your protoboard, 1/2, 1/3, 1/6 or the one you need. Cut the copper side with a cutter.
- Break it into pieces on the edge of a table.
- Grind the edges with sand paper.
- Stick the printed trasparent paper on the protoboard, care about the marks. You can use needles for help.
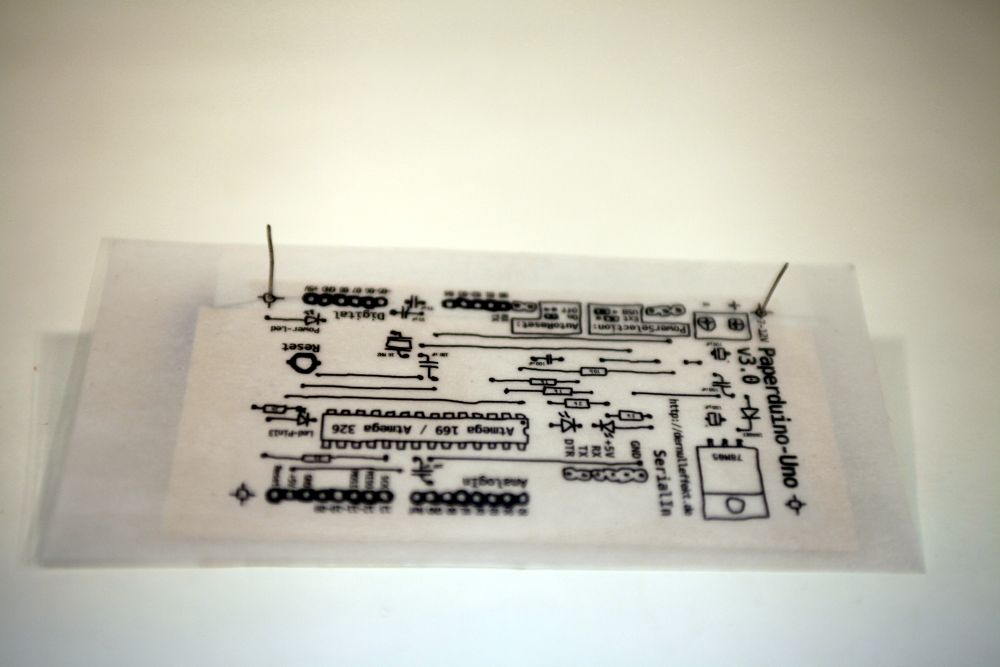
- Cut off excess material.

- Pierce all marked holes with a needle.
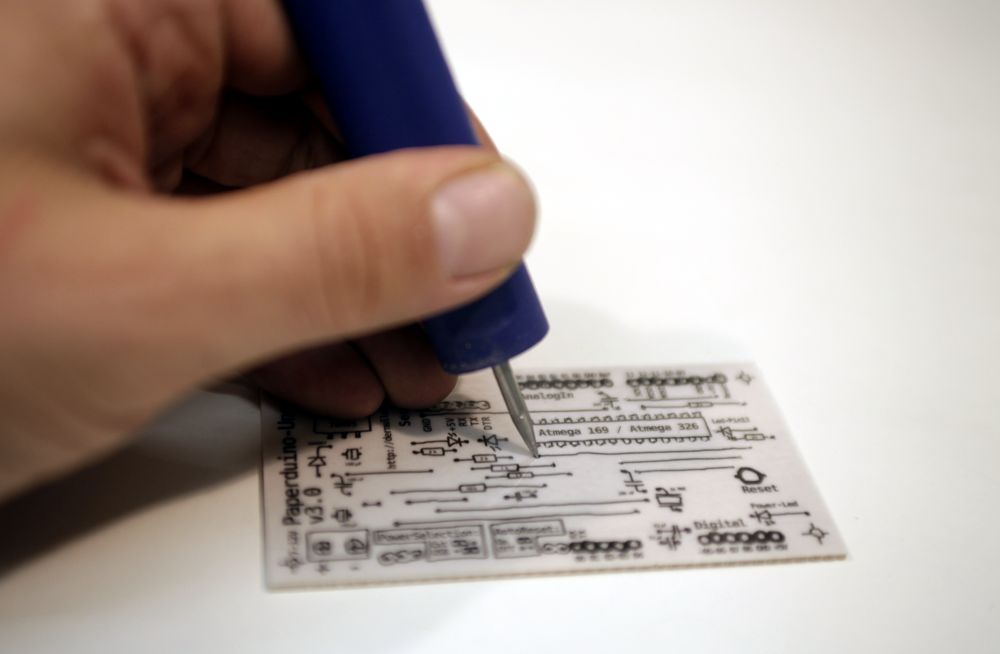
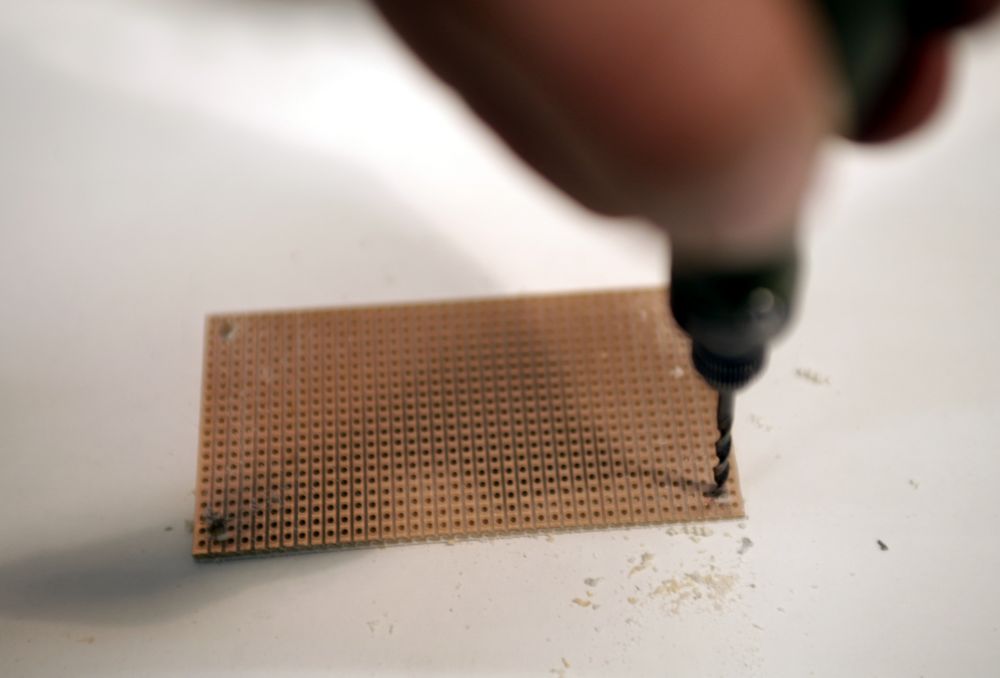
- If you need holes for screws, it's a good moment to drill them now.
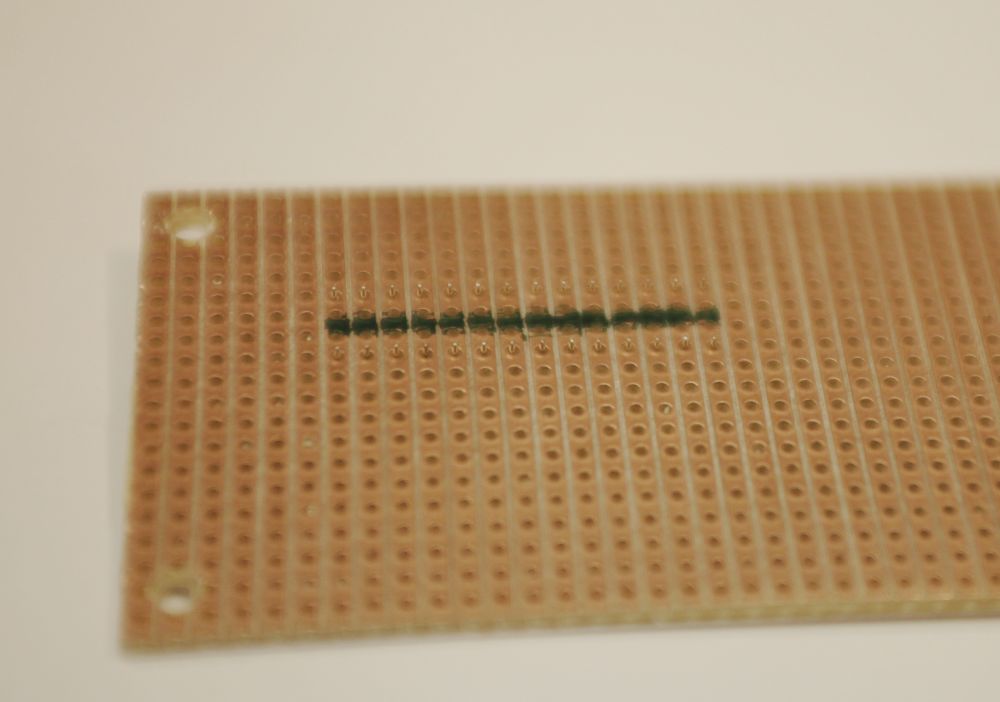
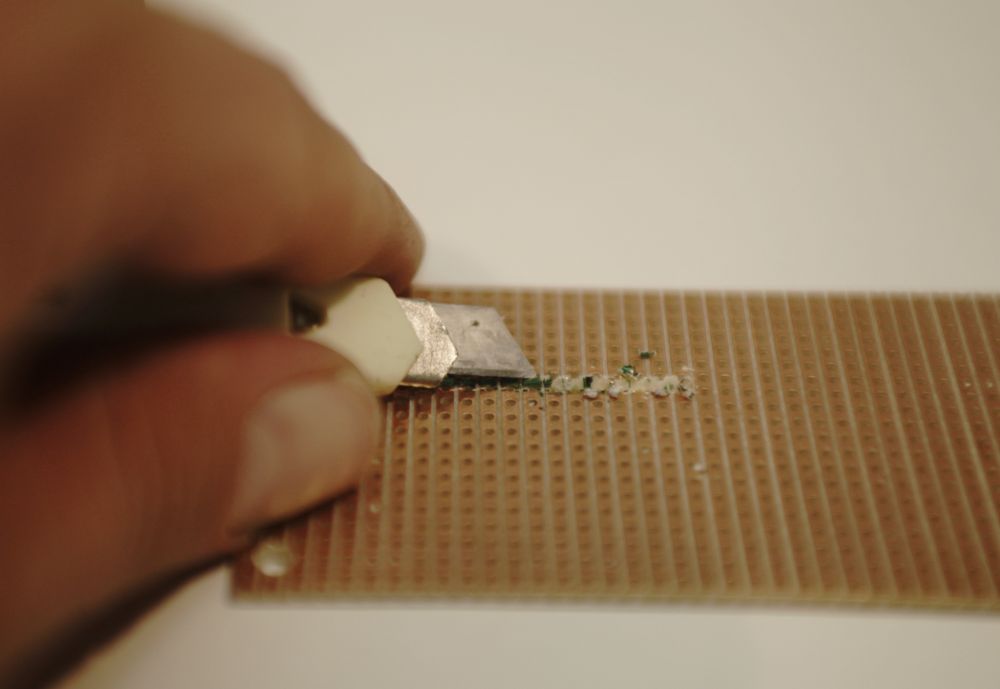
- If the board shall get a chip make sure to remove the copper stripes between the legs of the chip. Put in the chip and mark the place between the pins on the copper side. Remove the chip. Use a cutter to cut out the copper.
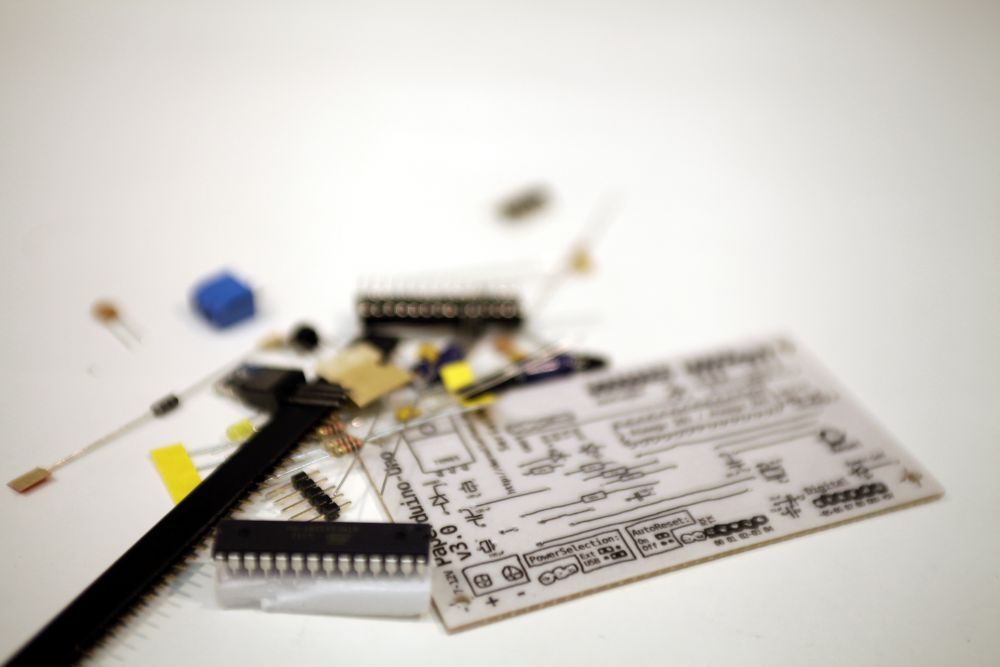
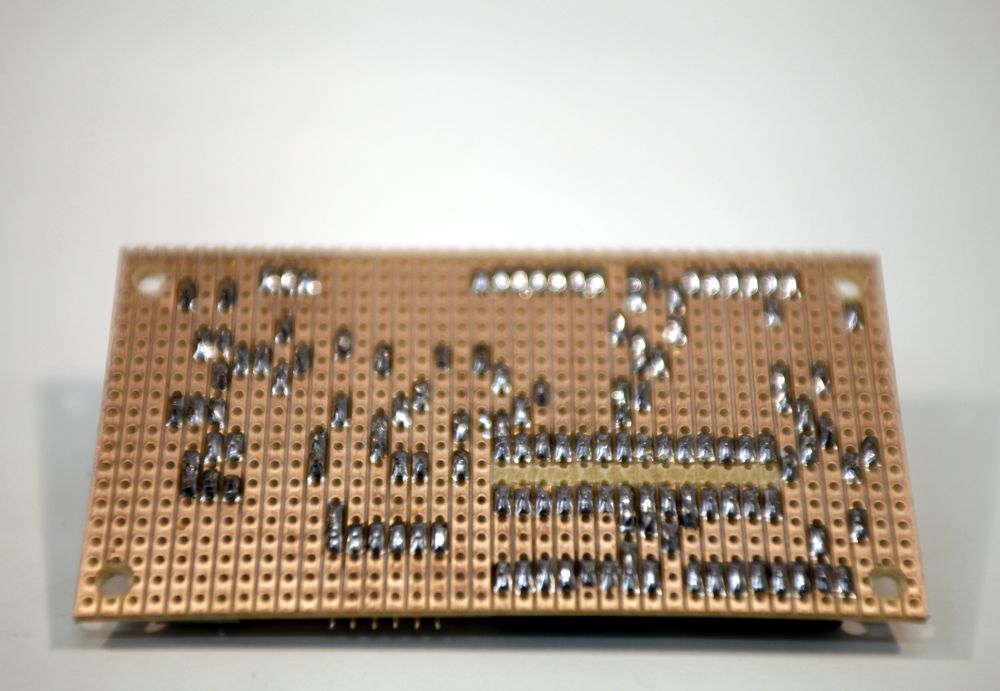
… and now, start to solder!
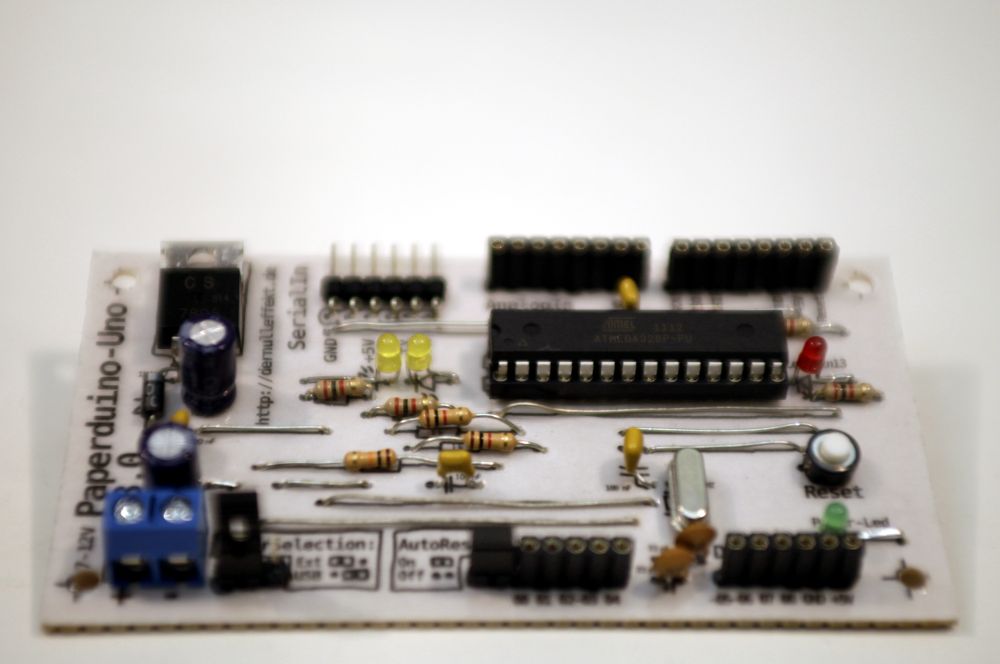
… et voila - this is your Paper-PCB!
==========================================================